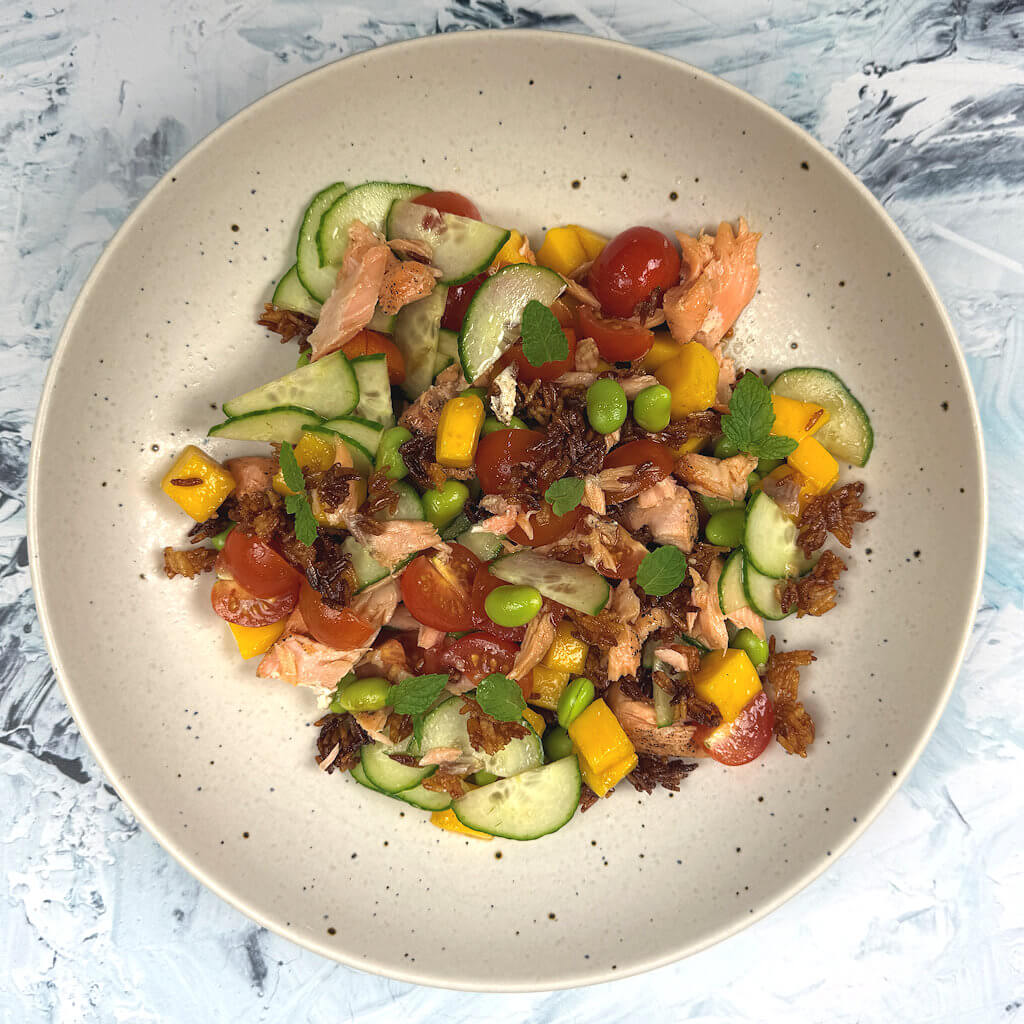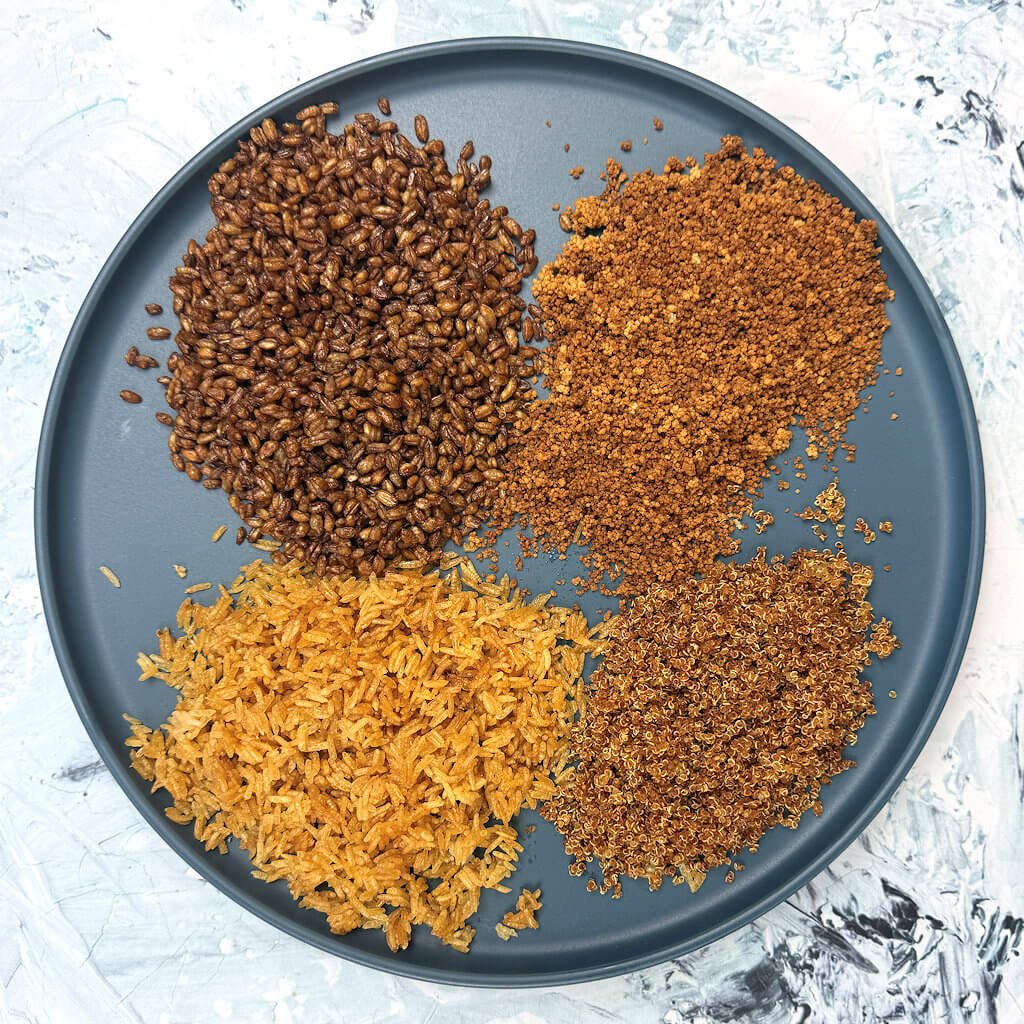
What clicked for me is that all four are chasing the exact same thing: dry the surface, hit it with heat, and let it brown. Once you see it that way, you stop needing a separate recipe for every grain sitting in your pantry and start needing one reliable method; something you can reach for on a random weekday with whatever leftovers happen to be in the fridge. It’s the kind of thing that sounds fussy in theory and turns out to be one sheet pan and about twenty minutes in practice.
Below is the master method, plus the small adjustments that make it work for rice, quinoa, couscous, and farro individually. (Quick honesty check: quinoa is technically a seed and couscous is a tiny pasta, not a grain). You’ll get the real breakdown of what’s what in each section.
What Makes This Work
Crispy anything starts with getting rid of surface moisture. Cooked grains hold a lot of water clinging to their exterior, and as long as that water is there, you’re steaming, not browning. High heat plus a thin coat of oil does two things at once: it drives off that surface moisture fast, and it kicks off the Maillard reaction; the browning that gives you actual crunch and a toasty, nutty flavor instead of just “dried out.” Spreading everything in a single layer on the sheet pan matters more than people expect; grains piled on top of each other steam each other instead of crisping.
The other trick: start with grains that have cooled, ideally in the fridge for at least an hour, uncovered. Cold, slightly dried-out grains crisp up faster and more evenly than warm, just-cooked ones. If you’ve made a big batch of rice or farro for dinner earlier in the week, this is the move.
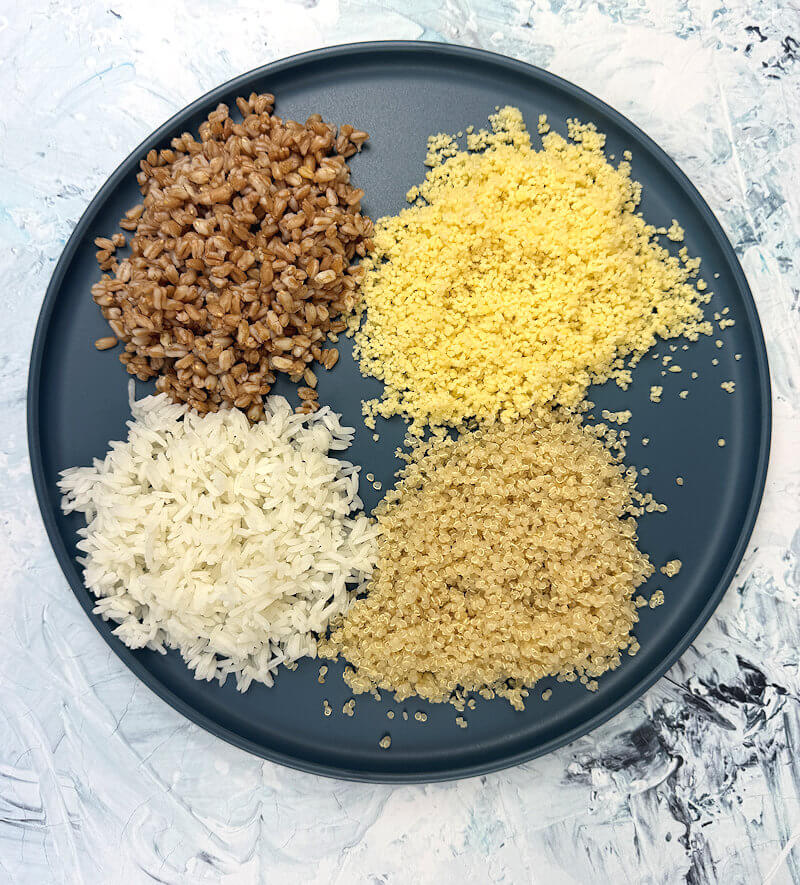
The Master Method
- Preheat your oven to 400–425°F and line a sheet pan with parchment. I prefer the oven over a broiler as the heat distribution is more even and it’s a little more forgiving.
- Toss your cooked, cooled grain with 1–2 tablespoons of neutral or olive oil per cup, plus a pinch of salt.
- Spread it in the thinnest possible layer. Crowding is the number one reason crispy grains turn out chewy instead of crunchy.
- Roast, stirring once halfway through, until deeply golden and audibly crackly when you nudge the pan.
- Let it cool on the pan for a few minutes before using, it crisps up further as it cools.
From there, timing and temperature shift a bit by ingredient. Here’s how each one behaves.
Crispy Rice
Best made with day-old rice; the drier grains crisp far more evenly than freshly cooked rice, which tends to clump. So if you don’t have day-old rice, you can make freshly cooked rice work by stirring it more frequently, breaking up the clumps as they form.
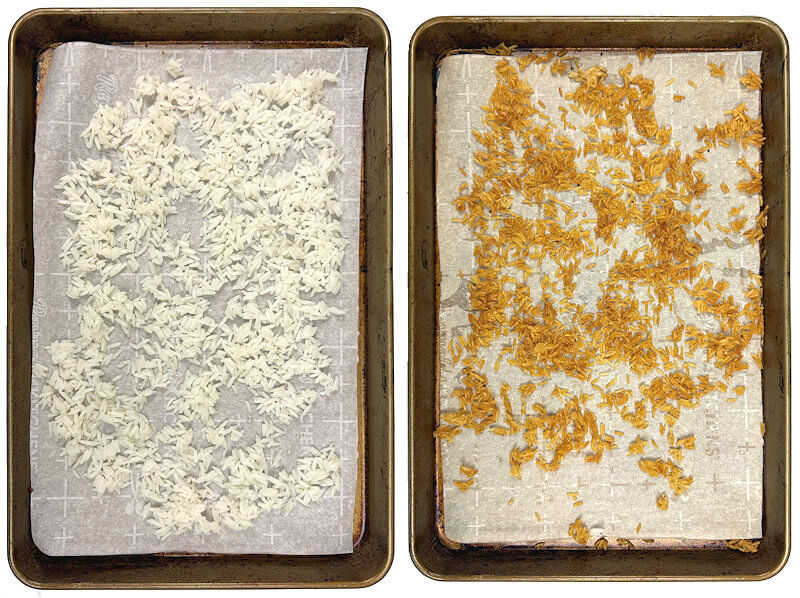
- Temp/time: 425°F, 20–25 minutes, stirring at the 10-minute mark
- Notes: Jasmine and basmati crisp up light and loose; short-grain rice gets a little chewier in the center, which you may love for texture contrast. Break up any clumps before spreading as well as mid-way through, so individual grains crisp rather than ending with a sheet of crispy rice.
Crispy Quinoa
The smallest of the four, often considered a grain, but it’s not, it is a seed of the quinoa plant. Because quinoa grains are small, it can cook easily from golden to burnt; you need to babysit this one.
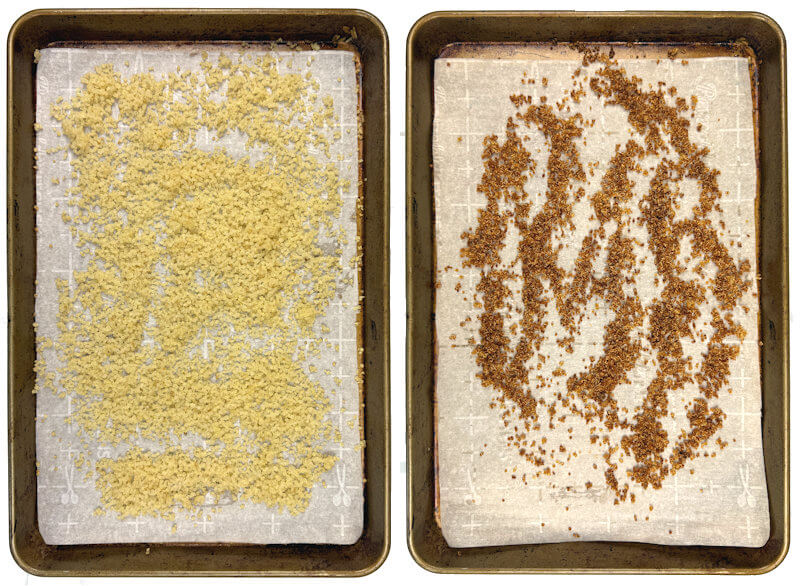
- Temp/time: 400°F, 15–20 minutes, stirring at the 8-minute mark
- Notes: Rinse and dry your quinoa before cooking; the little bit of natural saponin residue can leave a bitter taste. More details on how to cook fluffy quinoa, read this. A finer mesh or a lower oven shelf helps it cook more evenly since the grains are so tiny.
Crispy Couscous
Not a grain either, it’s tiny pasta made from semolina. It does crisp up beautifully and fast, so keep a close eye on couscous. There are 3 types of couscous, read about it here, the smallest, Moroccan couscous lends itself great for crisping.
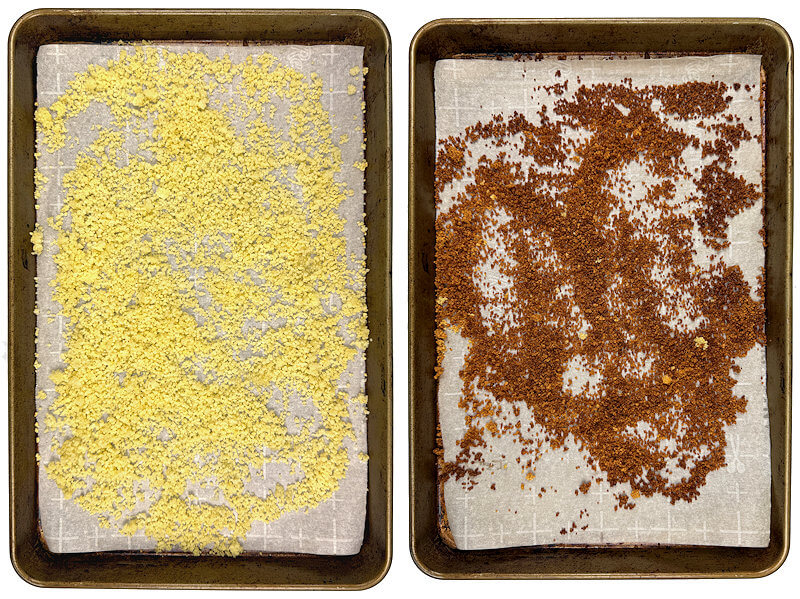
- Temp/time: 400°F, 12–15 minutes, stirring at the 6-minute mark
- Notes: Because the pieces are so small and uniform, couscous crisps the most evenly of the four with the least risk of chewy centers. Pull it as soon as it’s golden — it keeps browning for a minute or two after it comes out.
Crispy Farro
The chewiest grain of the bunch to start, so it holds its shape well and gives you the most textural contrast, crackly outside, still a little tender within. Be aware that roasting it too long may not burn it, but gives you a kernel that’s too hard to chew.
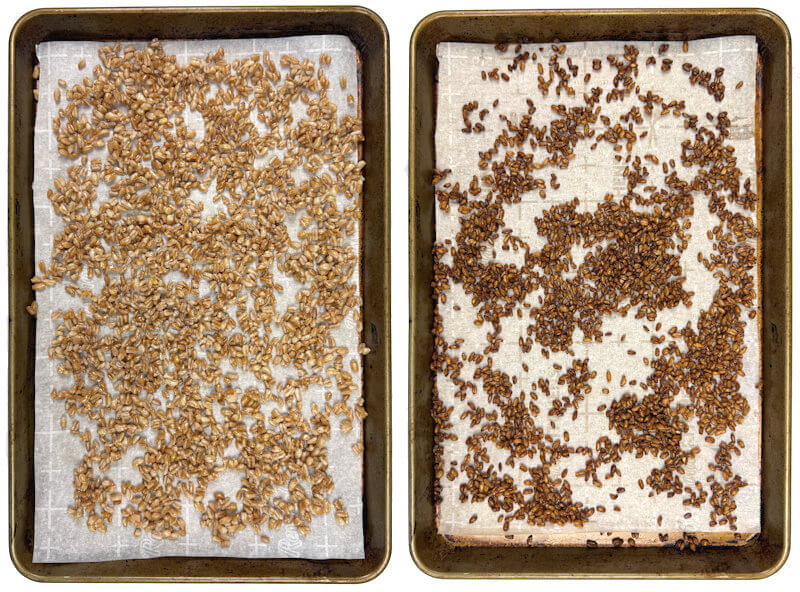
- Temp/time: 425°F, 20–25 minutes, stirring at the 10-minute mark
- Notes: Make sure farro is fully cooked and tender before crisping — undercooked farro just gets hard, not crispy. Pearled farro crisps faster than whole farro, so check a few minutes early if that’s what you’re using.
Alternatives & Substitutes
- If you want to try another grain than the four I have described in this post, please go ahead; freekeh, wheat berries, spelt are great candidates for the same method.
- Any neutral oil works in place of olive oil, avocado or grapeseed hold up well at these temperatures.
- No oven? All four can be pan-crisped in a skillet with a bit more oil over medium-high heat, stirring frequently to avoid burning.
How to Add Flavor
Want extra flavor? Your choice depends on your style of recipe.
- For an Asian twist, think about soy sauce or tamari and Gochujang sauce.
- For a Mediterranean flavor, use spices like ground cumin, chili powder, smoked paprika, or cayenne pepper or mix with herbs like za’atar, oregano, rosemary, or sage.
- Want an Italian vibe, add finely chopped basil, lemon zest and Parmigiano Reggiano cheese just before serving.
- Go Tex-Mex, by using chili powder, smoked paprika powder, cumin, coriander and garlic powder or use taco seasoning and cilantro.
- Breakfast intentions call for honey or maple syrup, and cinnamon, cardamom, allspice or seasonal pumpkin pie spice.
- Need a hot version, use chili oil at the beginning or sriracha, sambal oelek, or harissa.
How to Store Crispy Grains
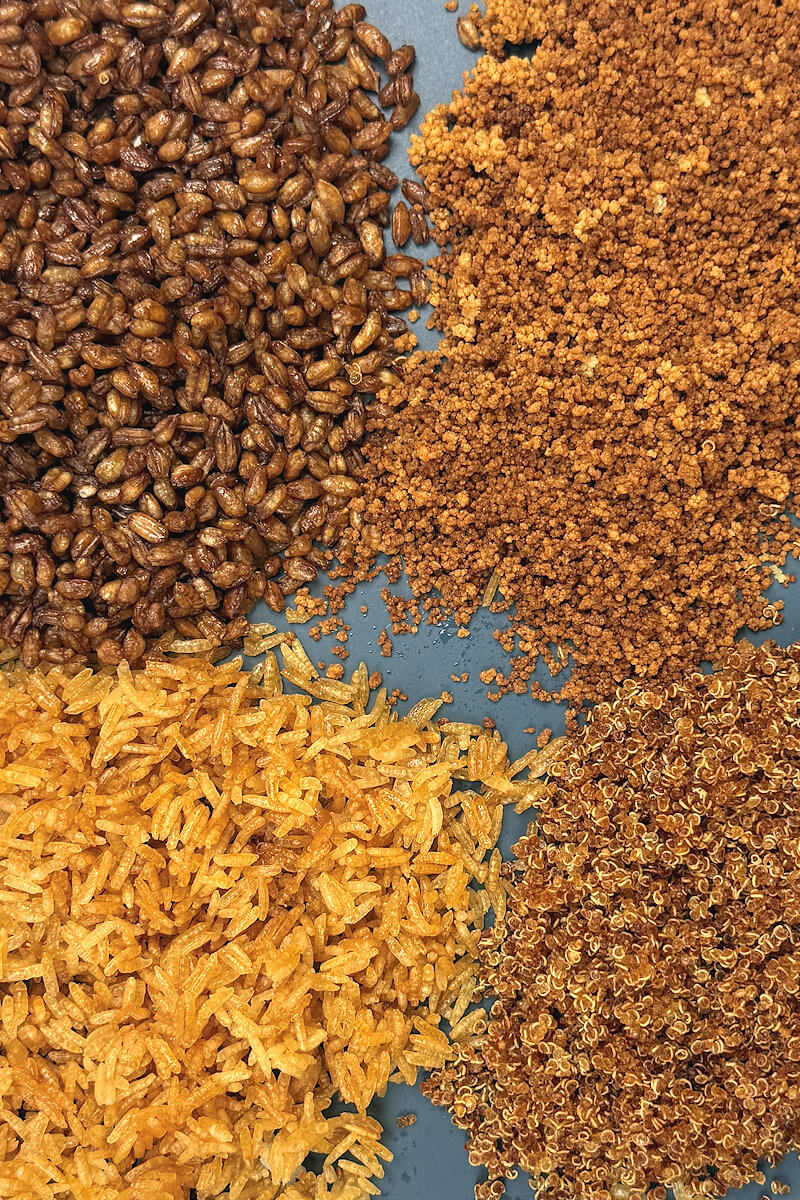
Let them cool completely, then store in an airtight container at room temperature for up to a week. Don’t store in the fridge, the moisture in there softens the crunch. If they lose their crispness, a quick 5-minute re-crisp in a 375°F oven brings them right back.
Ways to Use Crispy Grains
- Sprinkle over salads, vegetables and/or fruit salads.
- Sprinkle over your breakfast, like oatmeal or yogurt fruit bowl.
- Last minute sprinkle over soups.
- Mixed into a grain bowl.
- Stirred into scrambled eggs.